We offer a free quotation service where we will discuss the requirements for your loft conversion. After this initial survey and your acceptance of the quotation our structural engineer will carry out a survey of the property and prepare full working/planning drawings as required. These will be submitted by us on your behalf to the Local Authority for their approval.
Step 1
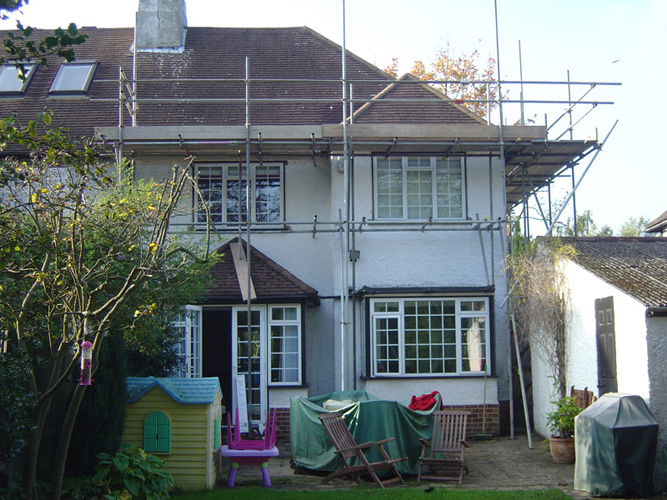
Scaffolding
A safety scaffold is erected around the property.
Entering the roof
We form a small temporary hole in the roof to enable us to access the roof and get the materials inside. This ensures minimum disturbance with the hole being weathered at the end of every day to protect from the elements.
Structural Flooring
New structural steel beams are placed in position as required and from these new floor joists are positioned. These are normally placed 50mm above existing ceilings to prevent damage to rooms below.
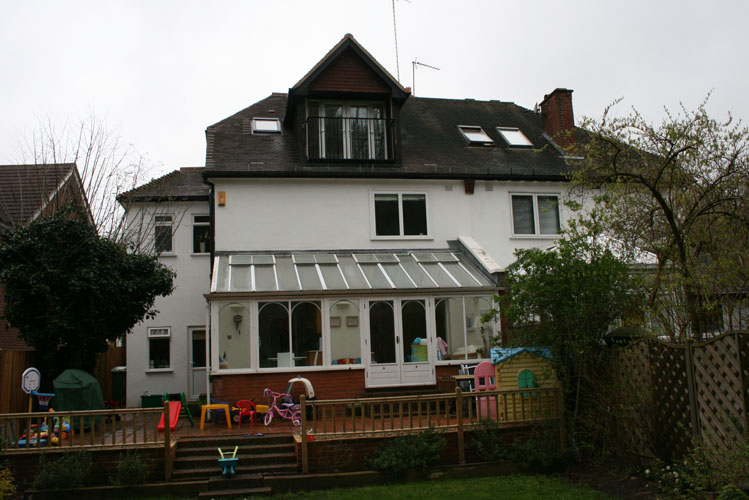
Step 2
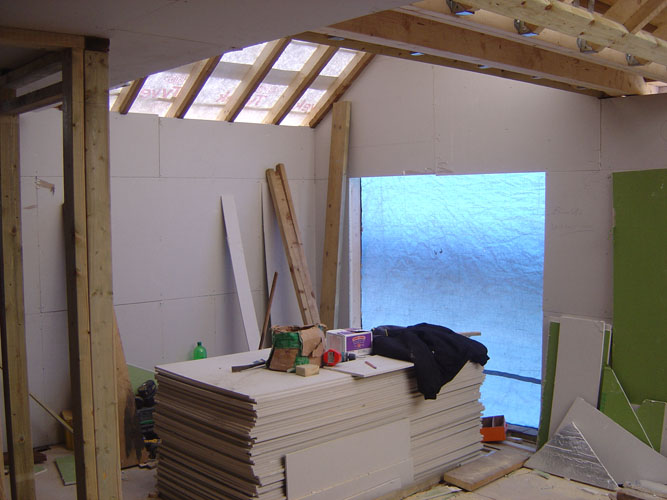
Dormer
From the new ridge beam the dormer ceiling joists are fixed in position, plywood sheeting is laid on top and permanently weathered. We remove the minimum amount of tiles to enable us to carry out this work without leaving the loft exposed. The dormer structure is then completed and it is not until this point that the rest of the roof is removed.
The loft will be inspected at this stage by the Local Authority.

Step 3
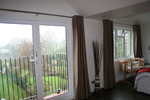
Windows
The window sizes and positions will be agreed. We only use VELUX the market leaders.
Step 4
Partitioning
It is at this point that any room sizes are finally determined and agreed with the client so that the wall framework can be constructed.
Step 5
Services
At this point we first fix for electrics and plumbing so that wherever possible all cables and pipes can be hidden in the walls and floors.
Step 6
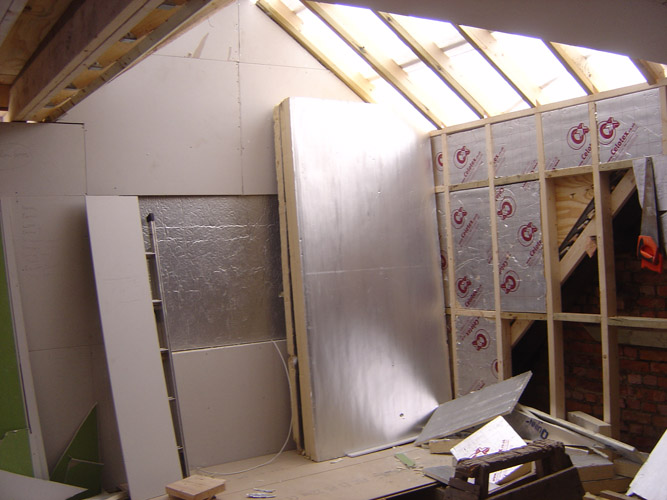
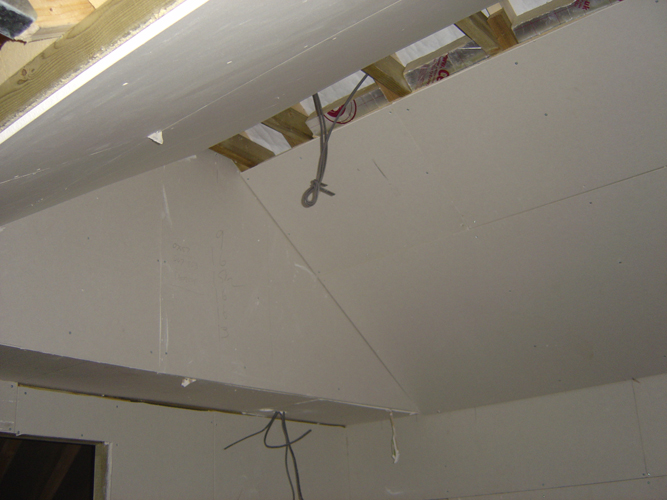
Insulation and fire protection
In order to comply with current legislation we install 100mm fire proof insulation suspended on chicken wire between the new floor joists. The new dormer walls have 100mm rigid insulation and the ceilings have a total of 175mm rigid insulation between and over the new joists.
A second visit will be carried out here by the Local Authority to ensure compliance with current building regulations.
Plasterboard
At this stage the walls are clad with 12.5mm fire retardant plasterboard. The 22mm tongue and groove flooboards are screwed down to form a structural floor and smoke barrier.
Step 7
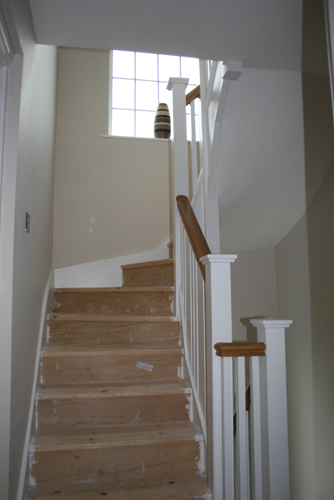
Staircase
At this stage we would cut out and fit the new staircase, taking all precautions to minimise disruption to the homeowner and dust throughout the rest of the house, this includes dustsheets and taping up of all existing doors. This will normally be achieved in one day. All our stairs are custom designed and built to match any existing features.
Step 8
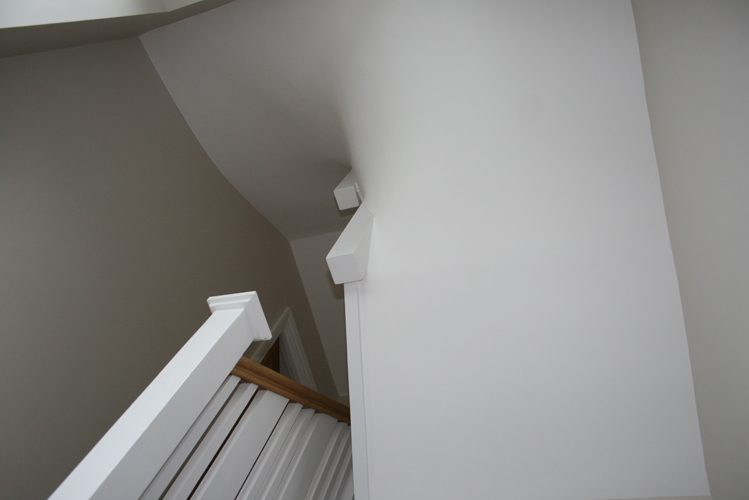
Plastering
The walls and underside of the staircase are plastered to leave a flat smooth finish for the clients decorator.
Step 9
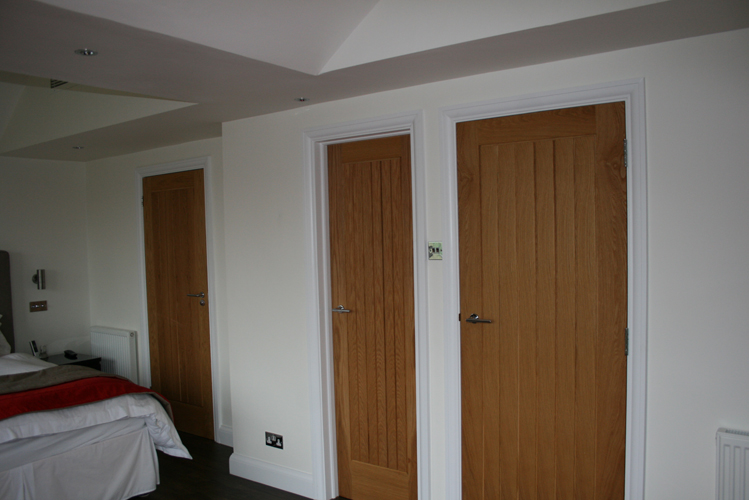
Second Fix
We fit out the bathroom and second fix the electrics, providing a test certificate to ensure compliance with local authority guidelines, new skirtings, fire doors and architraves are fitted.
It is at this stage the Local Authority make their final inspection and sign off the works.
For a Link to Planning guidlines please click here.
Not all lofts require planning but all WILL need building reglations approval and in the case of a semi-detached or terraced house a
party-wall agreement. This will be supplied by ourselves.
To see a video of the process, please click here.